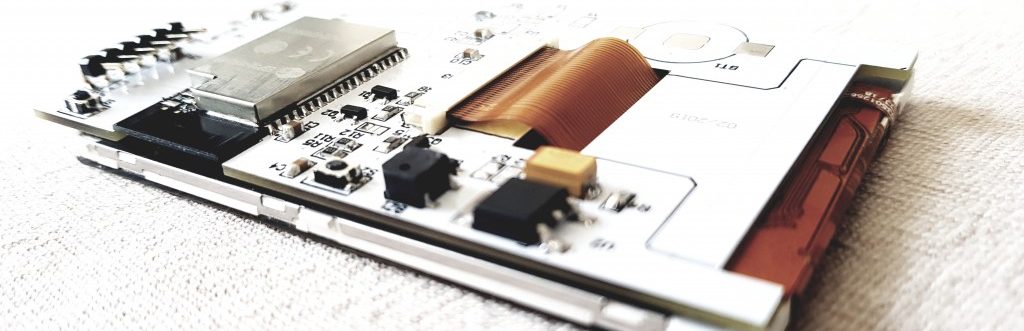
My Raspberry Pi finally arrived – from the February 29th sellout disappointment to a pre-order that actually shipped.
TinySensor’s SD card power consumption worries (and solution)
The SD card was ruining TinySensor’s coin cell battery budget – measuring the sleep current problem and the fix.
Toying with ATTiny84 and SD card in Arduino IDE
Breadboarding the TinySensor v1.1’s ATtiny84 + SD card combo in the Arduino IDE before sending the PCB off to the fab.
The Tiny Sensor gets a SD card port
The TinySensor gets an SD card port – spare PCB space plus a few days of thinking before the first batch order.
Using a cheap digital thermometer’s LCD display
Reusing a cheap digital thermometer’s LCD by mimicking its thermistor with a digital potentiometer – a free data display.
Tiny Sensor plans
TinySensor plans: the ATtiny84 remote sensor goes to a real PCB fab – CR2032 slot, a JeeLabs compatible port, 15 boards minimum.
Downloading an Arduino sketch from Internet to SD card for flashing via the SD card bootloader
Downloading Arduino firmware from the Internet straight to SD card – reset, and the SD bootloader flashes the new sketch.
Using the Sensing Shield for logging solar hot water tank temperatures to Pachube
An expandable solar hot water tank temperature logger to Pachube on the Sensing Shield – built for a forum guy new to Arduino.
Flashing Arduino from SD card
Flashing an Arduino from SD card or over TFTP – remote sketch uploading for nodes you can’t easily reach with a USB cable.
Single sided ATtiny84 temperature sensor PCB
A single sided ATtiny84 temperature sensor PCB after the double-sided fiasco – etches cleanly, sends every 60 seconds.
Remote sensor’s PCB is a failure :(
The home etched PCB failed, and so did the kitchen sink – ferric chloride does not forgive. Lessons from a bad etching day.
Home made PCB for the remote temperature sensor
My first home-made PCB: toner transfer and ferric chloride etching for the remote temperature sensor board – faster than any fab house.
Controlling 433Mhz RF power sockets with a RFM12B module
Controlling 433MHz RF power sockets straight from an RFM12B module – appliance switching without wiring a single relay.
Sensing Shield #1 in action
Sensing Shield #1 installed at the breakers box – 9V AC/AC transformer in place, logging voltage, power factor and real power usage.
RFM12B and Arduino Ethernet with WizNet5100 chip
Getting the RFM12B and an Arduino Ethernet (WizNet5100) to coexist on SPI – working around the nasty W5100 bus bug.
Sensing shield PCB ready
The Sensing Shield PCB is ready and partially populated – first tests looking good.
Arduino shield for energy monitoring
My first Eagle PCB project: an Arduino shield that turns the spaghetti heat pump monitoring setup into something orderly, EmonTX based.