
I fiddled with a new keypad today, this is not the first time I have a keypad project, but this time I want it to act as a USB keyboard instead. This is a convenient way to enter numeric data and I have some project ideas in the pipeline that will need a keypad.
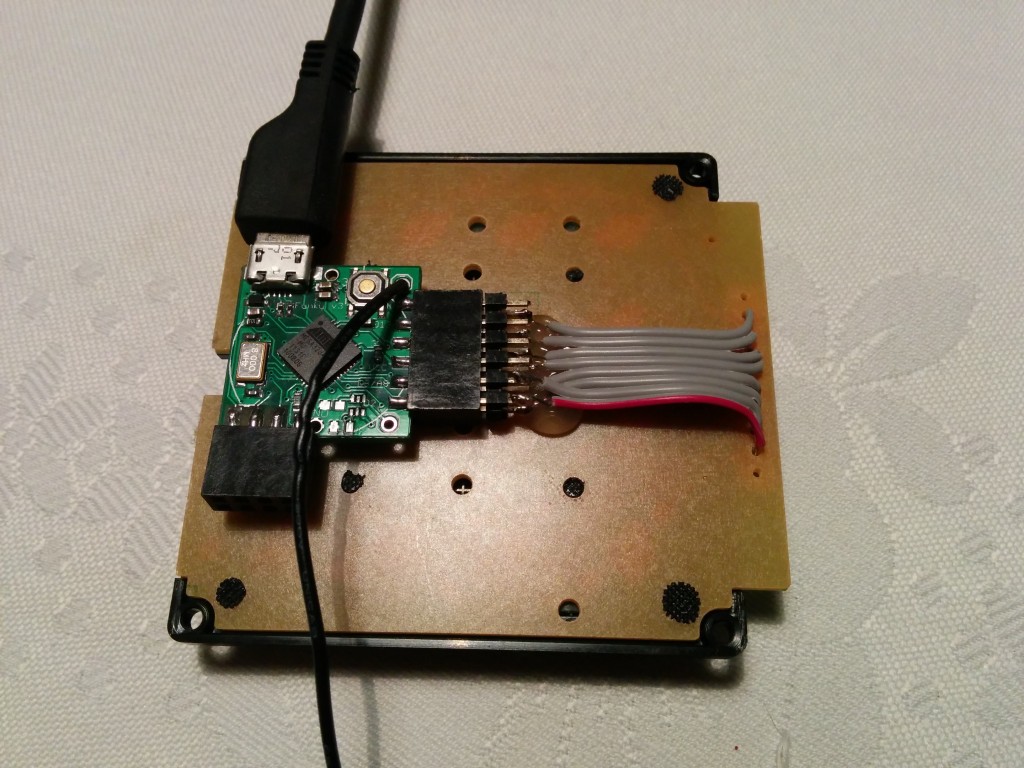
The design is very simple, I connect the keypad to eight of the Funky v3 pins and it produces respective keystrokes on the USB side. The RFM12B radio module is not used in this particular project, but may add interesting functionality, if you want to go wireless.
I tested it working on a Raspberry Pi, on my laptop and even on my smart TV – it works nicely.
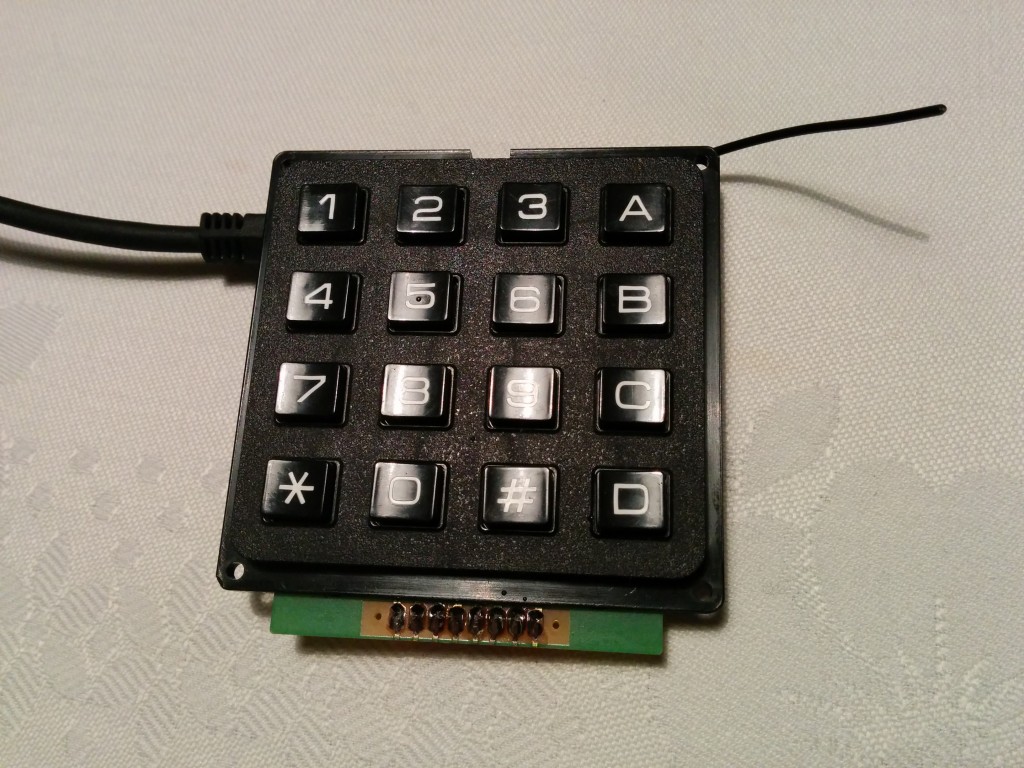
The keypad is a 4×4 one, classical style:
The column and row pins are routed to a 6×2 header that plugs into the Funky v3:
The code is trivial, can easily be enhanced with macros:
#include  <Keypad.h>   //http://playground.arduino.cc/Code/Keypad

const byte ROWS = 4; //four rows
const byte COLS = 4; //three columns
char keys[ROWS][COLS] = {
  {'1','2','3','A'},
  {'4','5','6','B'},
  {'7','8','9','C'},
  {'*','0','#','D'}
};
byte rowPins[ROWS] = {6, 12, 8, 2}; //connect to the row pinouts of the keypad
byte colPins[COLS] = {7, 21, 22, 9}; //connect to the column pinouts of the keypad

/*
Leonardo analog to digital mapping:

A0 – D18
A1 – D19
A2 – D20
A3 – D21
A4 – D22
A5 – D23
A6 – D4
A7 – D6
A8 – D8
A9 – D9
A10 – D10
A11 – D12
*/

Keypad keypad = Keypad( makeKeymap(keys), rowPins, colPins, ROWS, COLS );

void setup(){
  Keyboard.begin();
}

void loop(){
  char key = keypad.getKey();

  if (key != NO_KEY){
    Keyboard.print(key);
  }
}