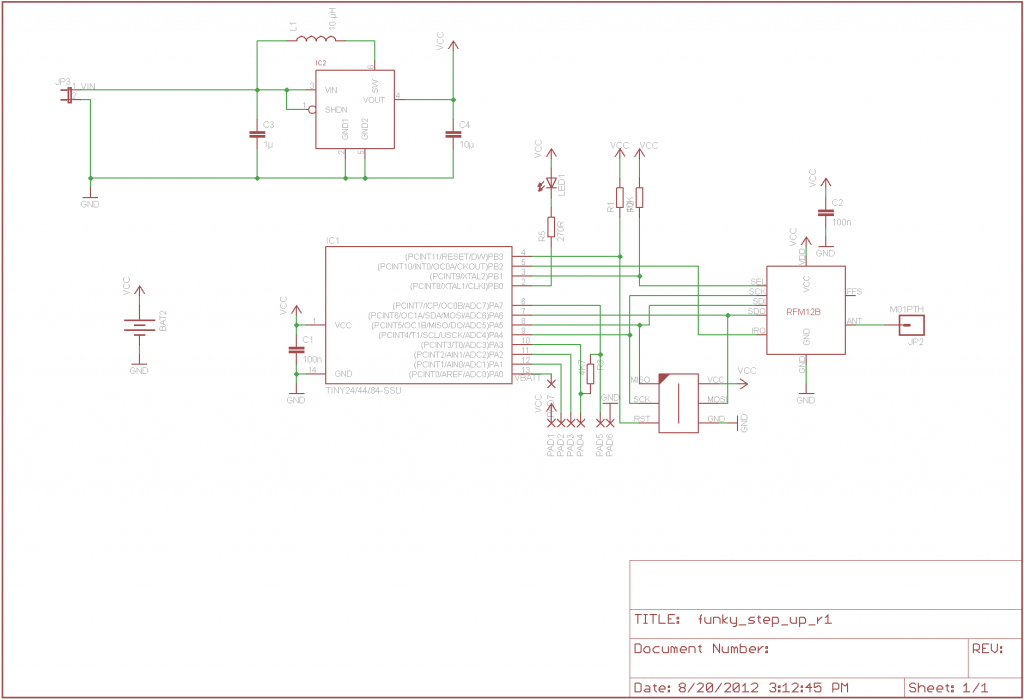
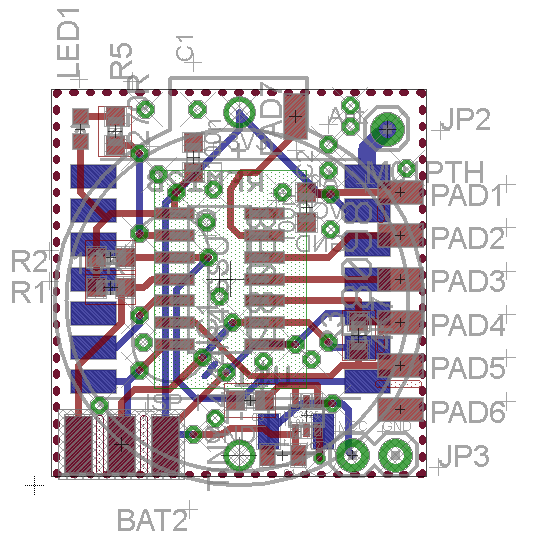
I have received permission from Tobias Floery to offer my version of the Funky Sensor in the store. I will be offering three options
- PCB only – for those that can do the soldering and only need the PCB
- “Regular” Funky – this is the Funky sensor less the voltage step-up circuit. Useful when you will provide 2.2 – 3.6V either thru a CR2032 coin cell battery or with two AA(A) batteries
- The step-up “Funky” has the LTC3525ESC6 voltage step-up IC on board and can be powered from a single AA(A) battery. This setup provides steady 3.3V and is useful since some sensors require voltages >3V, while the Funky alone can in theory operate down to 2.2V
The current PCB I have for the Funky has the step-up inductor way too close to the RFM12B and requires a hack job to solder. I have ordered a fixed PCB and will receive it the next 14 days. If you need the “Regular” Funky only, then the current PCB is just fine. This will be the only option available in store until I receive the fixed PCBs.
Eagle design files: Funky Sensor


Martin, I’m really enjoying browsing your blog. I’m curious what kind of battery life you are getting out of the Funky using 1 or 2 AA batteries. I think it would be nice to have a few of these deployed around the house with the DS18B20 supplying temperature data every 15 seconds or so back to my main Arduino.
Hi Ron,
I power mine mostly from a CR2032 battery, haven’t changed one yet for the past month. Using the power-saving techniques that I described in a recent post, it can run for at least three months. I think 15sec for temperature measurements is too often though, unless you are monitoring something critical, room temperature measurement every 5 minutes or even less is perfectly fine. That will also greatly improve battery life. Also, if you want top battery life, use the internal temperature sensor of the Attiny, I also have a post on that. You will notice that it needs calibration and is only integer value, but other than that my impression is that it is pretty accurate, even at negative temperatures. Check my example code on github, all code for TinySensor is good for the Funky as well.
Anyway, I have the footprint for the 4.7K resistor on the PCB for the DS18B20,so it is quite easy to add it. To power the Funky from a single AA(A) battery, you will need the “Step-up version”, I don’t have that on sale yet (will be within next two weeks). You can run it off two AA(A) batteries, you will see it live maybe year.
Pingback: Interfacing ‘Funky’ to Raspberry Pi | Martin's corner on the web