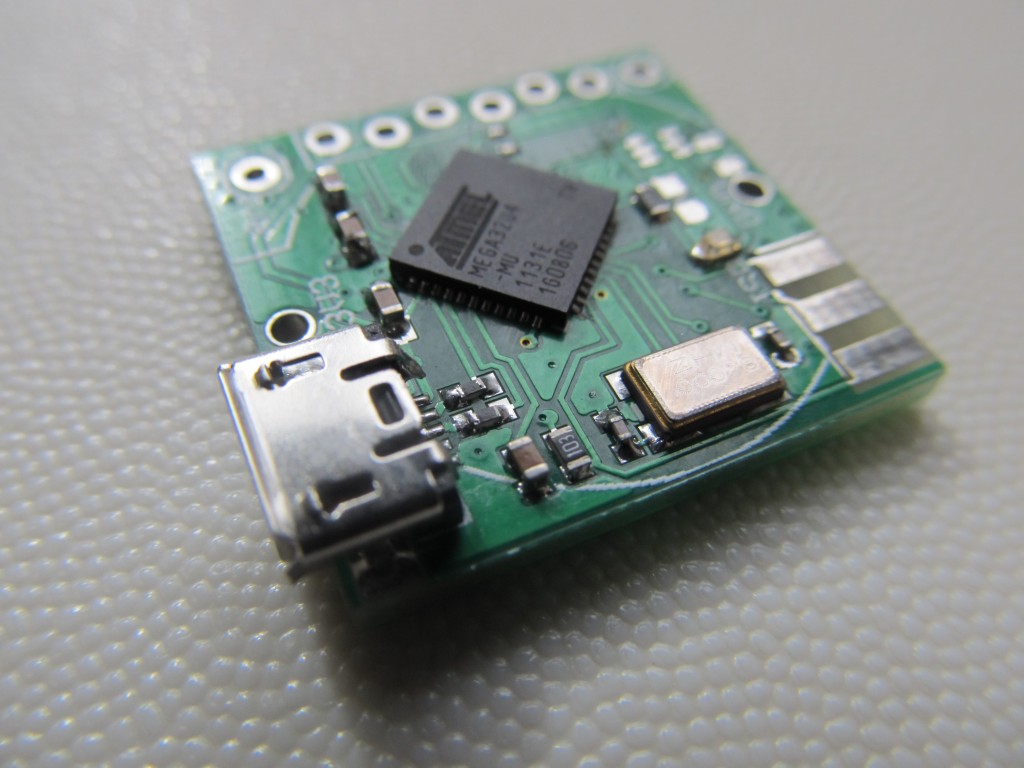
I’ve finally put together an Atmega32u4-based USB Funky late yesterday. Soldering the QFN44 chip and 0402 sized elements wasn’t as hard as I thought, I did it myself:
Of course, there had to be issues, namely I have swapped the MOSI/MISO lines on the ISP header – a left-over from my Attiny84 times. Using jumpers I re-routed on a breadboard these lines to get the Caterina-Leonardo bootloader onto the Funky 2 and am able to upload sketches via the Arduino IDE thru the USB (using Fio v3’s drivers) – a dream come true. Tired some test HID sketches and soon the Funky 2 was typing on my laptop 🙂 Sadly, the messed MOSI/MISO means the RFM12B won’t work, so I didn’t even bother soldering it. I will be making another board revision. So the concept is proven and it will eventually work.
This is by far the most complex project I have done in my short amateur electronics experience, I have indeed learned a lot.


Pingback: Receiving IR with Funky v2 | Martin's corner on the web
Pingback: 433Mhz OOK with Funky v2 to remotely control power sockets | Martin's corner on the web
Pingback: Power saving techniques on the Atmega32u4 | Martin's corner on the web