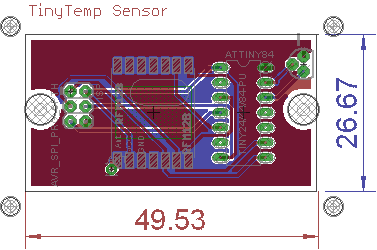
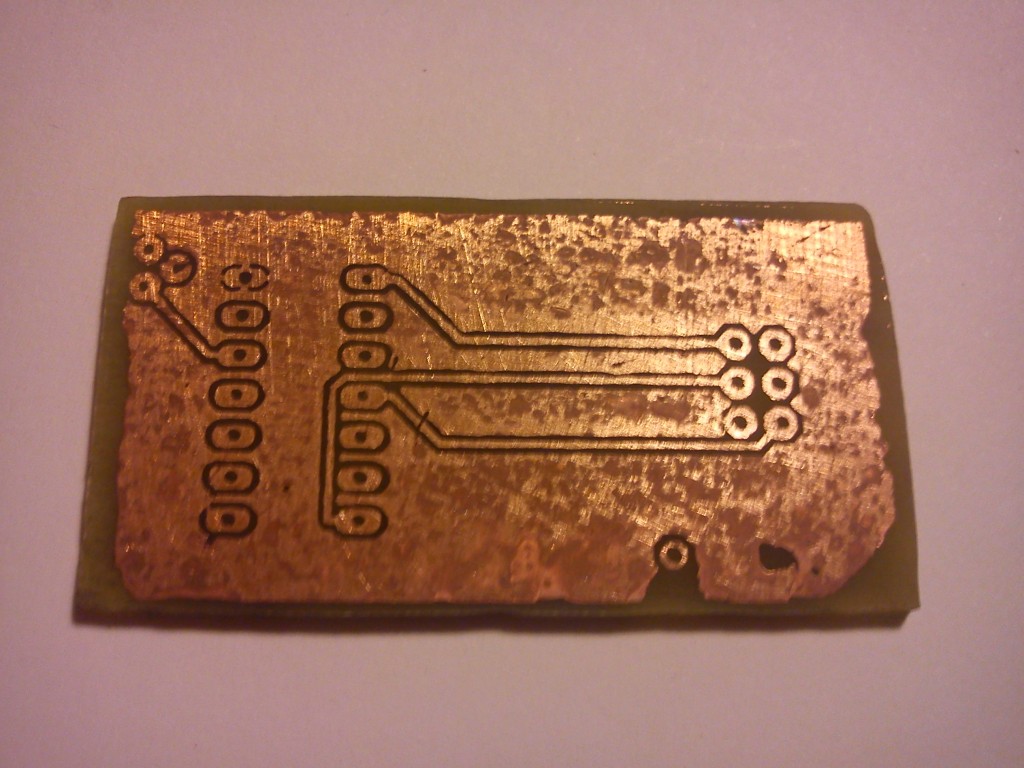
As I mentioned in my other post, I wanted to re-do the temperature sensor, this time on my own PCB. Driven by the hunger for instant gratification, I have overcome my fear of home-made PCBs using toner transfer and ferric tri-chloride etching method. Ordering single prototype to a PCB fab house means I have to wait couple weeks, and I couldn’t didn’t want to wait. So here I am, spending a day on educating myself in the mysteries of home PCB fabrication. After checking out half the Internet on this subject, I laid out quickly my designs in Eagle.
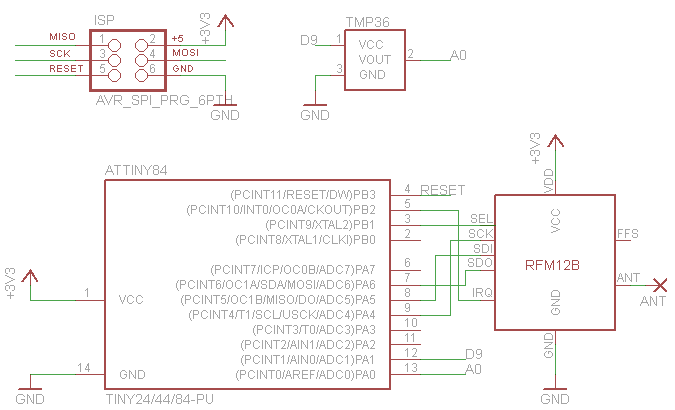
There is an six pin ISP that will be used for programming the ATtiny and later for powering the board. Initially I wanted to insert a CR2032 coin cell battery, but since I son’t have that part, I preferred to leave it. I had a small box that I wanted to accommodate the project, so the PCB is sized accordingly. The PCB is intended for a room node where extreme temperatures will not occur (hopefully), so I will use the TMP36 temperature sensor, not the DS18B20 as my strip board version for the water tank temperature monitoring does.
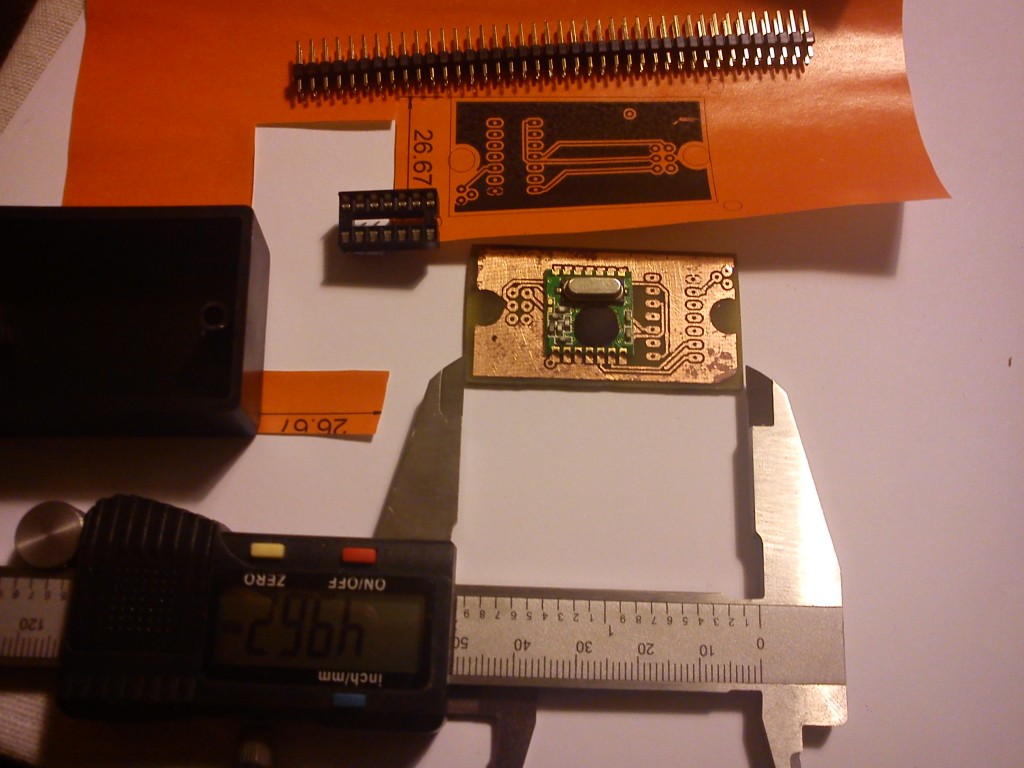
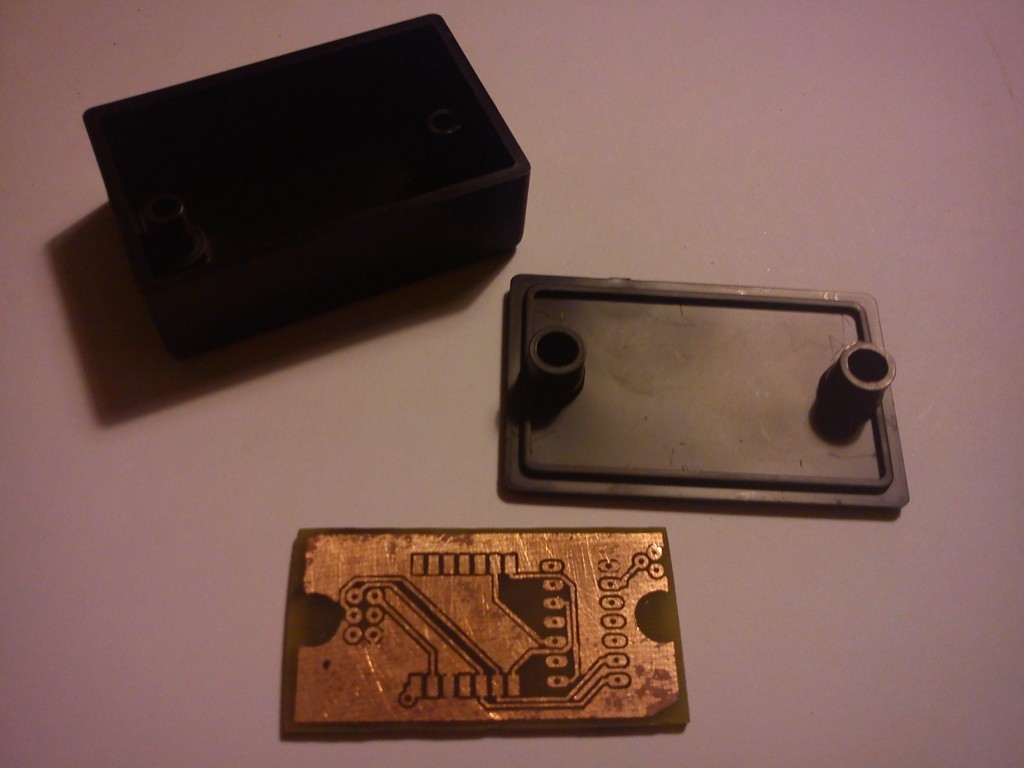
I made probably 10+ attempts before I could transfer the toner without either smearing it or not adhesing it sufficiently. Another challenge is that it is a double-sided PCB, so both sides must be aligned precisely. I managed by cutting the PCB in exact same size as the paper printout. Finally it worked out and I started etching. I over-etched it as it is obvious but for a first ever attempt, please be forgiving 🙂. I tested the tracks with multimer and to my surprise they all work, there is no shorts.
It is late already and I will be doing the drilling and mounting the components another time.
Some pictures of how it worked out:

